0x00 sqlmapapi介绍
在sqlmap目录下面还存在一个sqlmapapi.py的程序,sqlmap.py本身具有批量扫描的能力,常见批量扫描有使用-l参数扫描bur代理的日志目标或者-m扫描多个对象时候,推荐使用sqlmap的api接口,效率更高,sqlmapapi接口有两种使用方式,本地直接使用或者是当与本地不在一起时候,使用客户端与服务端连接使用,这两种使用方法就不做介绍了,今天介绍使用pytohn开发配合sqlmapapi接口批量扫描。
0x01 python开发-sqlmapapi接口
使用接口前先启用sqlmapapi接口:
none
python sqlmapapi.py -s
开发当前项目过程:(利用 sqlmapapi 接口实现批量 URL 注入安全检测)
1.创建新任务记录任务 ID @get(“/task/new”)
2.设置任务 ID 扫描信息 @post(“/option//set “)
3.开始扫描对应 ID 任务 @post(“/scan//start”)
4.读取扫描状态判断结果 @get(“/scan//status”)
5.如果结束删除 ID 并获取结果 @get(“/task//delete”)
6.扫描结果查看@get(“/scan//data”)
none
import requests
import json
import time

def sqlmapapi(url):
    headers = {
        'Content-Type': 'application/json'
    }
    scan_url={
        'url':url
    }
    scan_task_url='http://127.0.0.1:8775/task/new'
    scan_task=requests.get(scan_task_url)
    #print(scan_task.json())
    scan_task_id=scan_task.json()['taskid']
    #print(scan_task_id)
    if 'success' in scan_task.content.decode('utf-8'):
        print('sqlmapapi task create success...')
        scan_task_set_url = 'http://127.0.0.1:8775/option/' + scan_task_id + '/set'
        scan_task_set = requests.post(scan_task_set_url,data=json.dumps(scan_url),headers=headers)
        #print(scan_url)
        #print(scan_task_set.content.decode('utf-8'))
        if 'success' in scan_task_set.content.decode('utf-8'):
            print('sqlmapapi taskid set success')
            scan_start_url='http://127.0.0.1:8775/scan/'+scan_task_id+'/start'
            scan_start=requests.post(scan_start_url,data=json.dumps(scan_url),headers=headers)
            #print(scan_start.content.decode('utf-8'))
            if 'success' in scan_start.content.decode('utf-8'):
                print('sqlmapapi scan start success')
                while 1:
                    scan_status_url = 'http://127.0.0.1:8775/scan/' + scan_task_id + '/status'
                    scan_status = requests.get(scan_status_url)
                    #print(scan_status.content.decode('utf-8'))
                    if 'running' in scan_status.content.decode('utf-8'):
                        print(url + '->scan running')
                        pass
                    else:
                        print('sqlmapapi scan end')
                        scan_data_url='http://127.0.0.1:8775/scan/' + scan_task_id + '/data'
                        scan_data=requests.get(scan_data_url).content.decode('utf-8')
                        with open(r'scan_result.txt','a+') as f:
                            f.write(url+'\n')
                            f.write(scan_data+'\n')
                            f.write('==========python sqlmapapi by Gaobai=========='+'\n')
                            f.close()
                        #print('delete taskid')
                        scan_deltask_url = 'http://127.0.0.1:8775/task/' + scan_task_id + '/delete'
                        scan_deltask=requests.get(scan_deltask_url)
                        if 'success' in scan_deltask.content.decode('utf-8'):
                            print('delete taskid success')
                        break
                    time.sleep(3)


if __name__ == '__main__':
    print("scanurl checking ok.....")
    for url in open('url.txt'):
        url=url.replace('\n','')
        sqlmapapi(url)
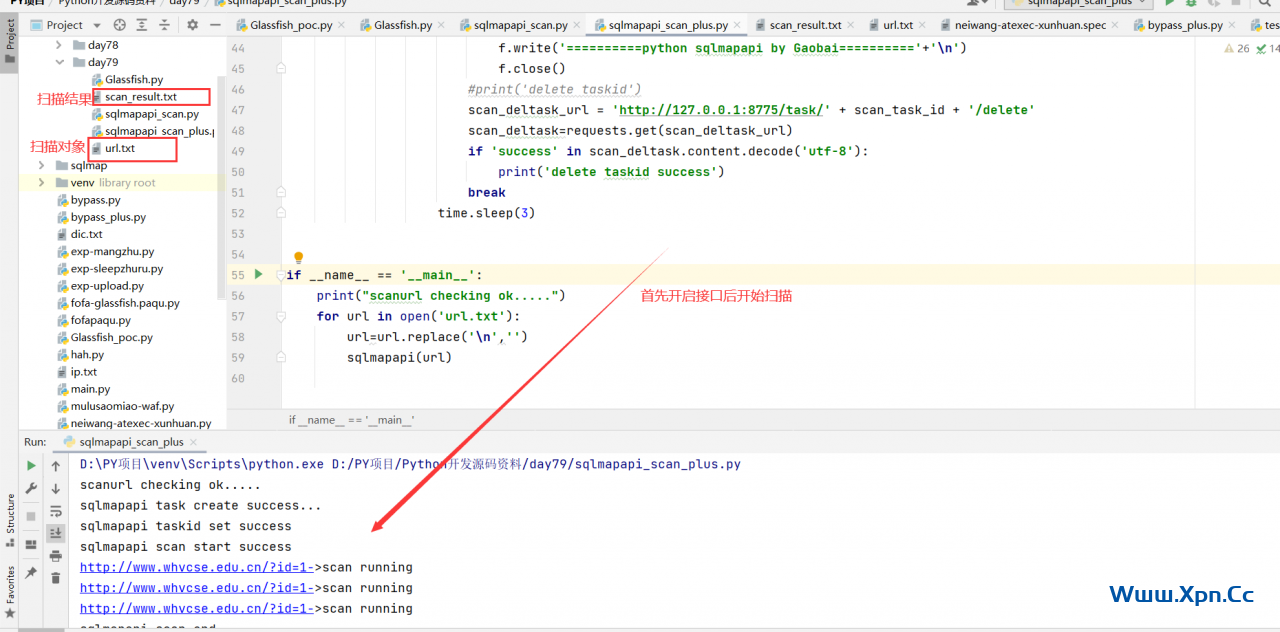
将批量扫描对象放入url.txt中,先cmd使用sqlmapapi开启接口后python进行任务扫描:
注意sqlmapapi一般调用使用py2.7版本,毕竟sqlmap的开开发也是基于python2.7版本
测试对象:
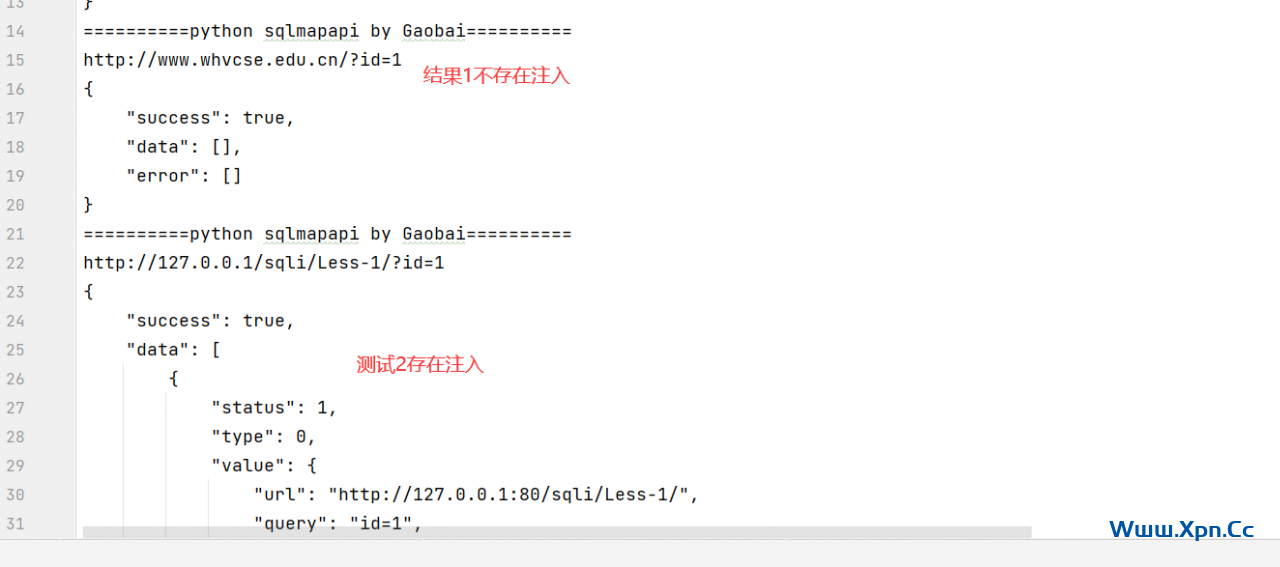
扫描结果:
 飞鱼博客
飞鱼博客


